
I found many tutorial on google regarding configuration procedure but as per new UI and bit changes in some options I decided to create a new post on the basis of present GUI of domain providers.
Before I proceed make sure you have purchased custom domain name.
I’m taking an example of Godaddy for reference.
PROCEDURE
1: Login to you blogger dashboard from www.blogger.com . (1st tab)
2: Login to you godaddy account from www.godaddy.com . (2nd tab)
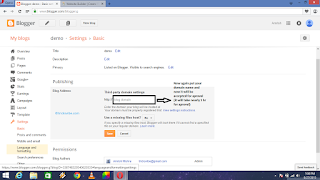
3: Open blogger tab and then navigate to DASHBOARD > SETTINGS > BASIC.
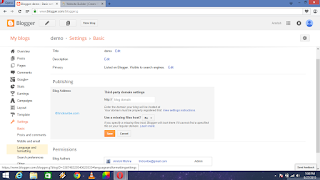
4: Click on + Setup a third party URL for your blog.
5: Now you can see a input box asking your domain name.
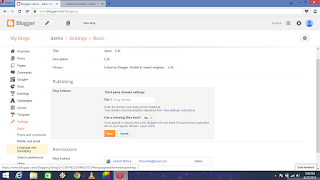
6: Simply enter your domain name in the above box (Make sure you have entered your domain name initiating with WWW. ) i.e www.yourdomain.com and save the setting.
7: Now you will be able to see an error (We have not been able to verify your authority to this domain. Error 12) with some details as shown below.
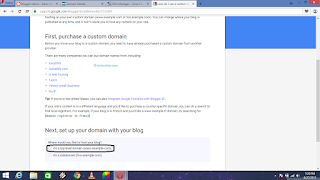
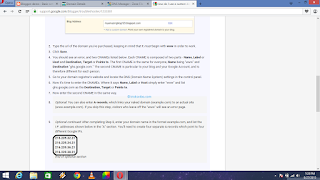
8: Now open viewsettings instruction in New tab and follow the instruction as shown below . (Navigate back to the page you opened in step 7)
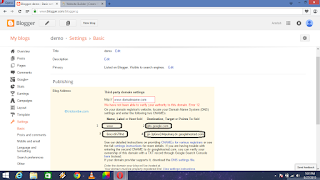
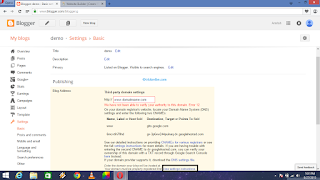
9: You can see 2 column. “Name, Lable or Host field” & “Destination Target or Points to field” & 2 terms described in each calumn.
10: Navigate to tab where you have logged in on your godaddy account. You will see a page as shown below, simply click on the “Manage”
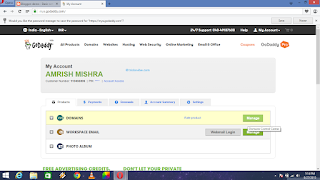
11: Now from dropdown button after you domain name select “Manage DNS”
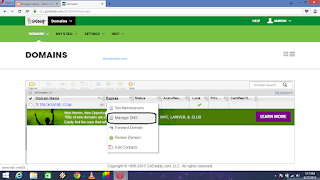
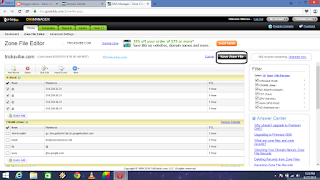
12: Go to “Use classical DNS MANAGER”
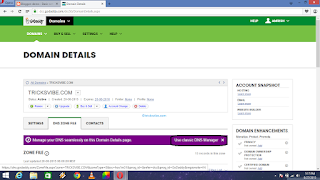
13: Now in CNAME (Alias) , remove or delete the column containing www.
14: Now click on Quick add button. Fill those column with the with data you received in step 9.
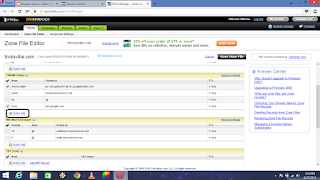
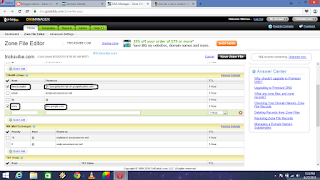
15: Similarly click on A (Host) & remove or delete the IP already provided. Fill the boxes with the IP you received by doing step 8 (Add IP by hitting Quick Add button for each IP, one by one).

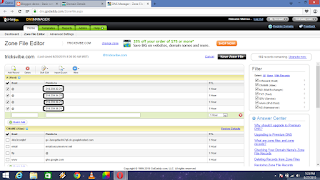
16: Cross check the details and then hit Save Zone File.
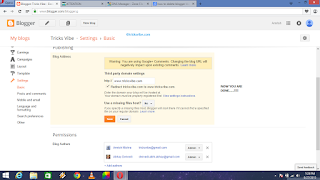
17: Come back to Blogger >Dashboard>Settings>Basic, again provide you custom domain to blogger and hit Save. You are done now (it might take 1hr for verification process).
18: Comment for any query, Follow, Subscribe, If I Helped You.


0 comments